
Imagine the world draped in a silent, crystalline blanket of white, where the only sound is the rhythmic crunch of snow beneath your boots and the soft puff of your own breath. Mastering ultralight hiking in cold temperatures is the ultimate test of a backpacker’s skill, blending the minimalist philosophy of the trail with the unforgiving demands of the frost. It is a delicate dance between carrying enough to survive and keeping your pack light enough to soar through the mountains.
The common misconception is that winter requires a massive, heavy pack filled with bulky layers. While safety is paramount, modern technology and smart strategies allow us to venture into the deep freeze without the burden of a traditional 50-pound load. By focusing on high-quality insulation and multi-purpose gear, you can maintain a nimble pace even when the mercury drops well below freezing.
Transitioning into the world of cold-weather minimalism requires a shift in mindset. You are no longer just carrying a bag; you are managing a personal microclimate that must remain stable from the first step of the morning to the last shiver of the night. Let us explore how to refine your kit for the beautiful, brutal reality of the winter wilderness.
The Philosophy of the Ultralight Winter Kit
When you embark on ultralight hiking in cold temperatures, every gram feels heavier because the stakes are inherently higher. The goal is to minimize your base weight while maximizing the thermal efficiency of every single item in your pack. This starts with a rigorous assessment of what is truly necessary and what is merely a comfort item that adds weight without adding warmth.
Weight is often the enemy of speed, and in winter, speed can be a safety feature. Moving quickly keeps your metabolic rate high, generating the internal heat necessary to keep your extremities warm. However, this requires a pack that doesn’t impede your movement or cause excessive fatigue, which can lead to poor decision-making in harsh conditions.
To achieve this balance, you must invest in the highest quality materials available. This means looking for high-fill-power down, ultralight fabrics like Dyneema Composite Fabric (DCF), and titanium hardware. While the financial investment may be higher, the payoff is a pack that feels like a part of your body rather than an anchor on your back.
The Power of Multi-Functional Gear
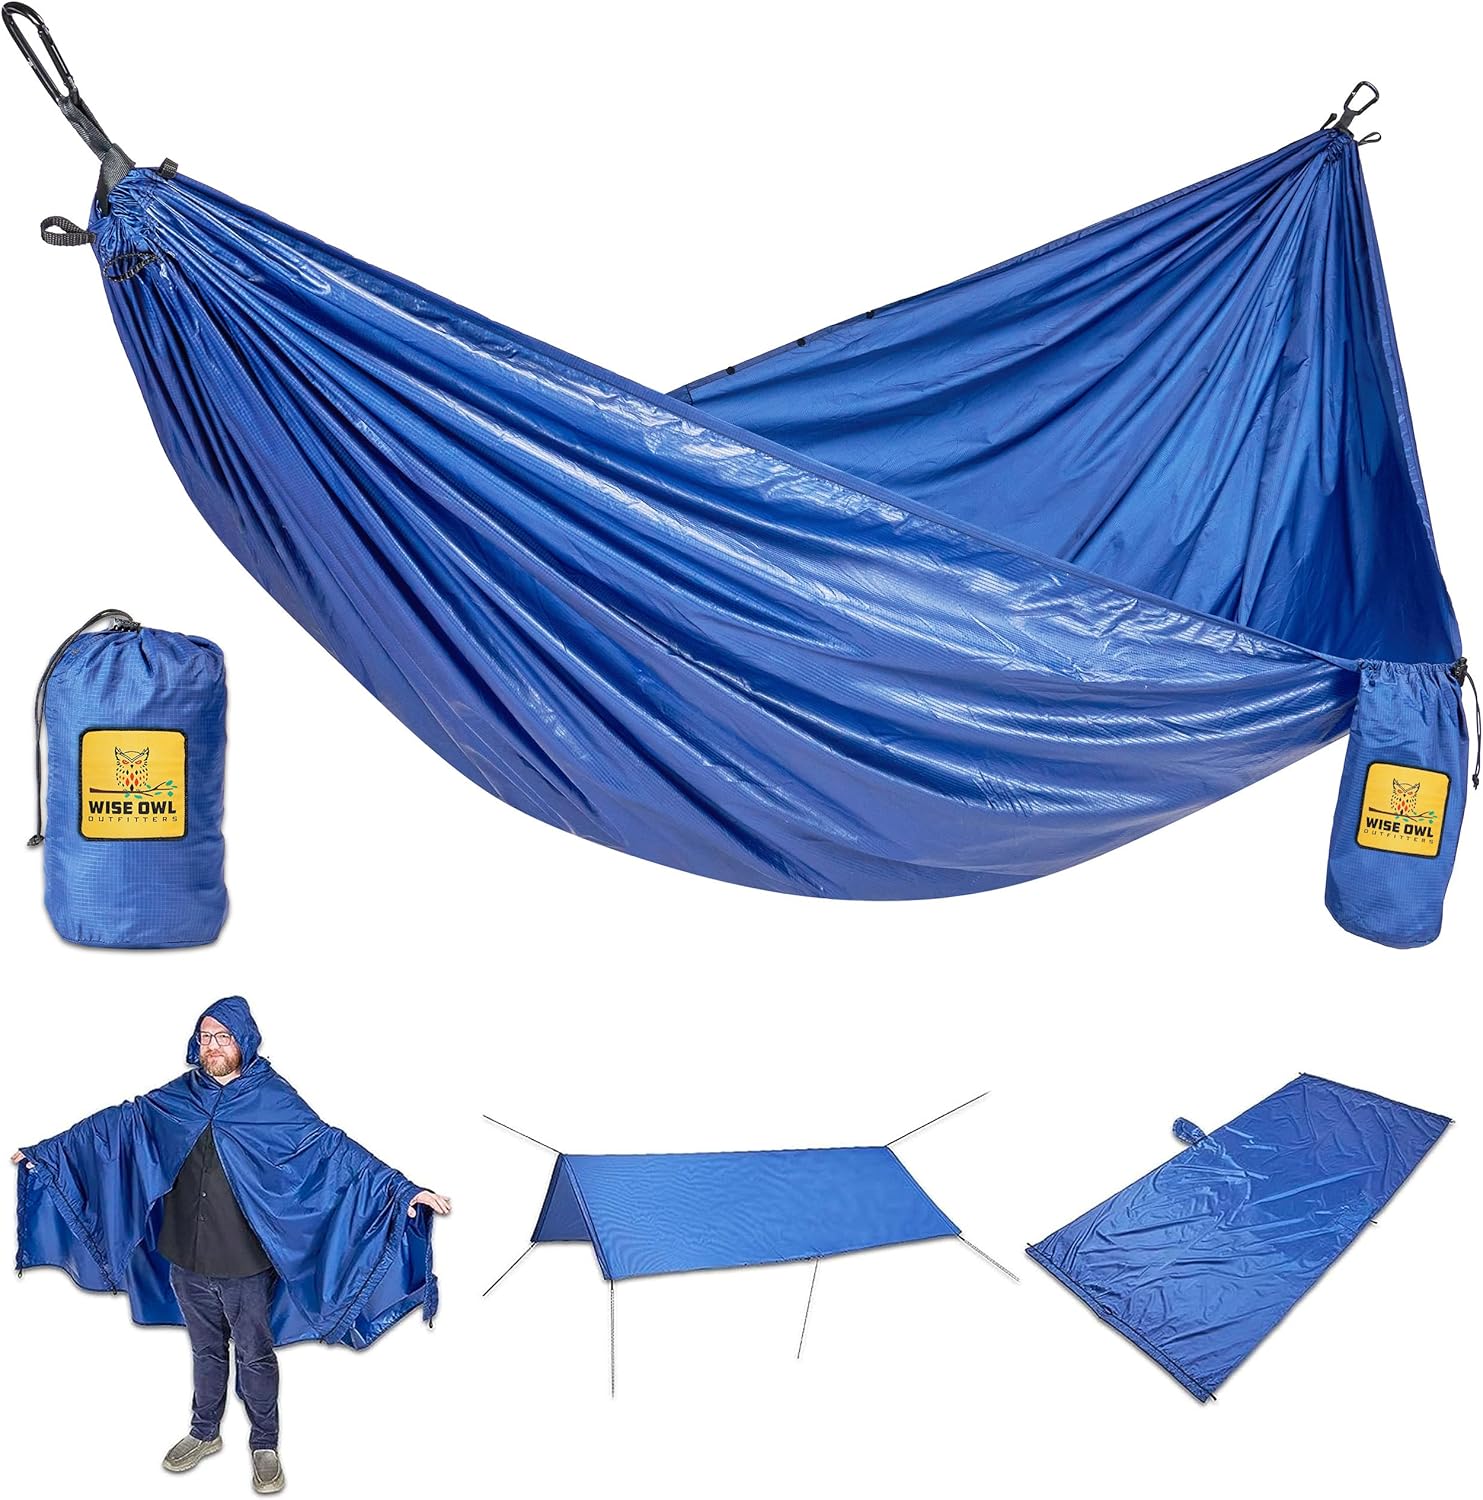
In the ultralight world, one item should ideally serve two or three purposes. Your sit pad might double as a frame sheet for your frameless pack or extra insulation under your torso at night. Your extra down jacket isn’t just for camp; it can be draped over your quilt to boost your sleep system’s temperature rating.
By viewing your gear as a cohesive system rather than a collection of individual parts, you can eliminate redundancies. This holistic approach is what separates a heavy winter trekker from an efficient ultralight athlete. Every ounce saved is more energy available for the climb and more enjoyment of the pristine, frozen landscape.
Mastering the Layering System for Sub-Zero Trekking
The core of your warmth strategy lies in a sophisticated layering system. Instead of one massive parka, you utilize several thin layers that can be added or removed to regulate your body temperature precisely. This prevents the greatest enemy of the winter hiker: perspiration.
Sweating in cold temperatures is dangerous because moisture conducts heat away from the body 25 times faster than air. Once your base layers are damp, you risk hypothermia the moment you stop moving. Therefore, your clothing must be breathable, moisture-wicking, and quick-drying.
Start with a high-quality merino wool or synthetic base layer that sits tight against the skin. Merino is prized for its ability to stay warm even when wet and its natural odor-resistant properties, which are a blessing on multi-day trips. Over this, add a breathable mid-layer, such as a grid fleece, which traps air while allowing moisture vapor to escape during high-exertion climbs.
Insulation and Weather Protection
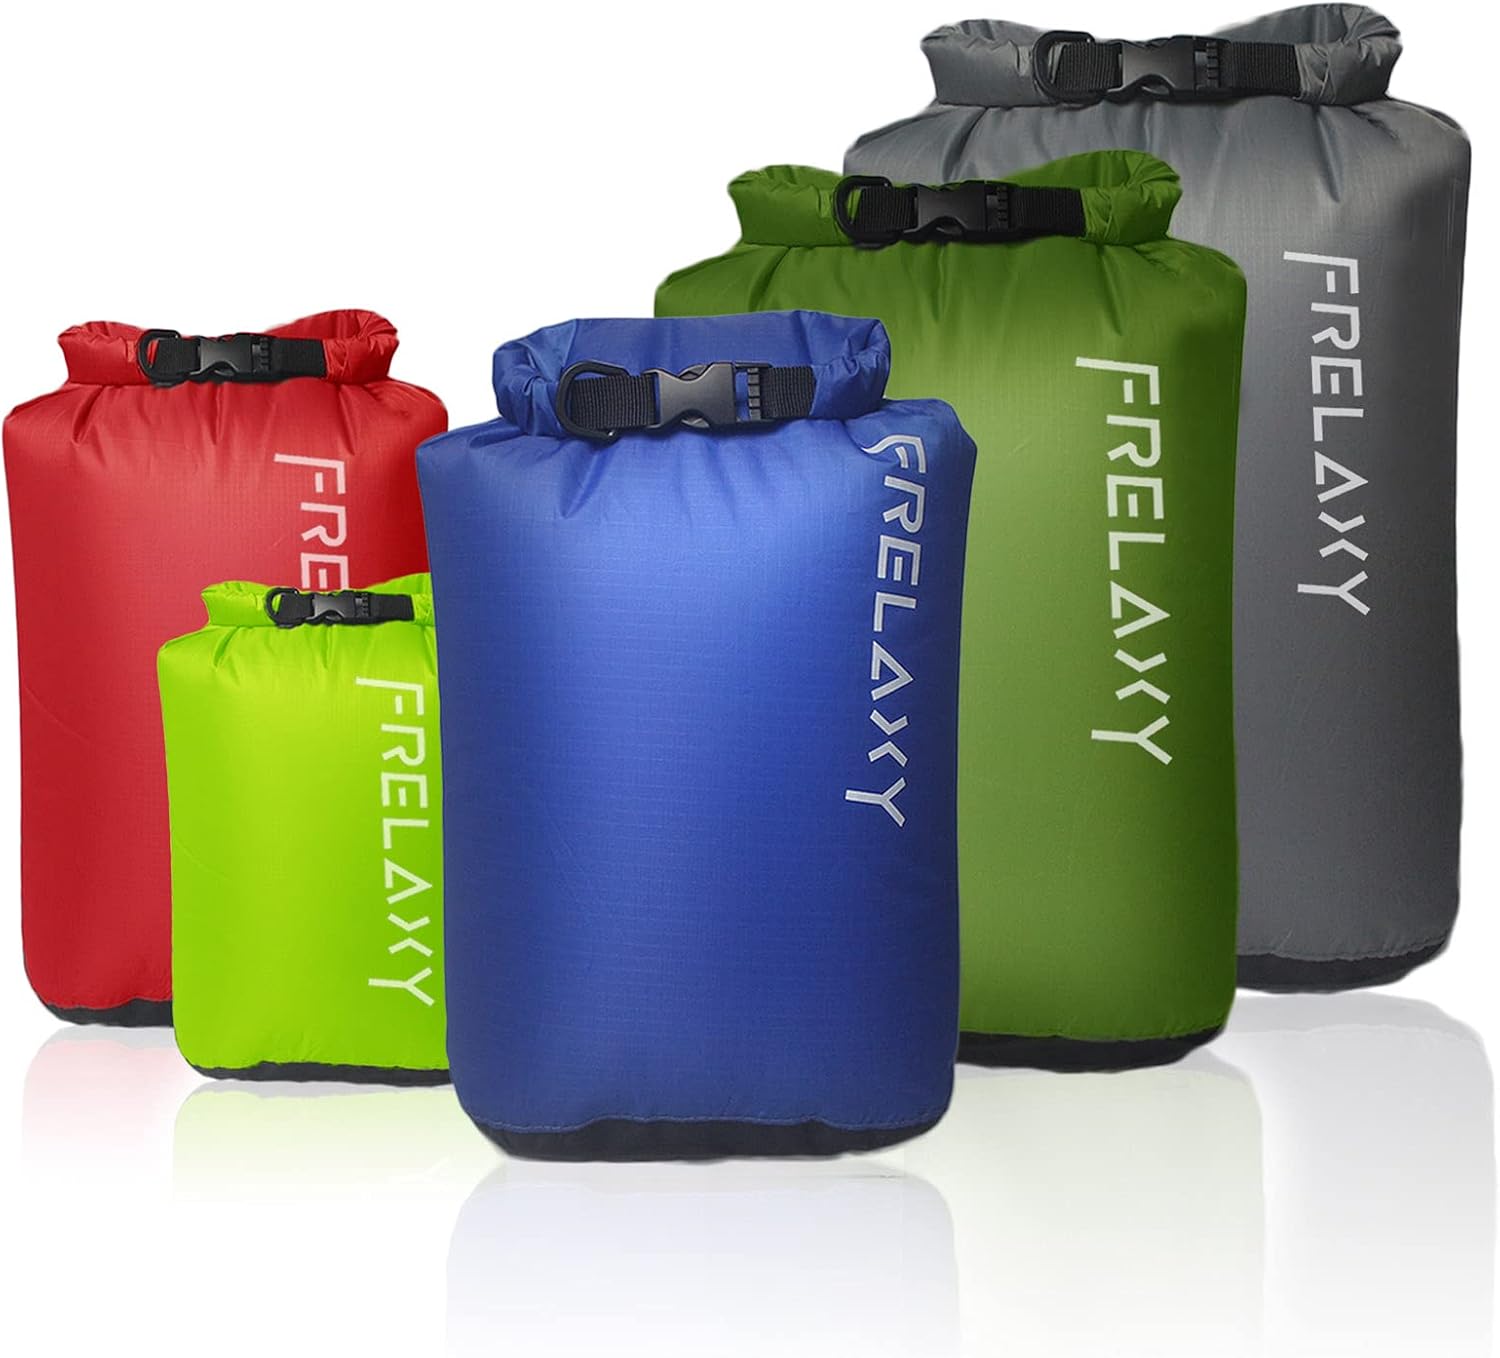
When you stop for a break or reach camp, you need an “active” insulation layer or a high-loft “static” layer. For ultralight enthusiasts, a down jacket with 800+ fill power provides the best warmth-to-weight ratio. Ensure the outer fabric has a DWR (Durable Water Repellent) finish to protect the down from light moisture and spindrift.
The final piece of the puzzle is the shell. A lightweight, waterproof-breathable jacket acts as your shield against biting winds and freezing rain. In a truly ultralight setup, this shell should be minimal, focusing on high-quality membranes like Gore-Tex Shakedry or ultralight 3-layer laminates that keep the wind from stripping away your hard-earned body heat.
The Sleep System: Your Life Support in the Cold
In the world of ultralight hiking in cold temperatures, your sleep system is your most critical piece of equipment. When the sun disappears and the temperature plummets, your sleeping bag or quilt is the only thing standing between you and the shivering grip of the night. Achieving a sub-zero rating without a massive weight penalty requires careful selection.
Many ultralight hikers prefer quilts over traditional sleeping bags because they eliminate the compressed insulation underneath you, which provides little warmth anyway. However, in extreme cold, a specialized winter mummy bag with a well-designed draft collar and hood might be worth the extra ounces to prevent heat from escaping during the night.
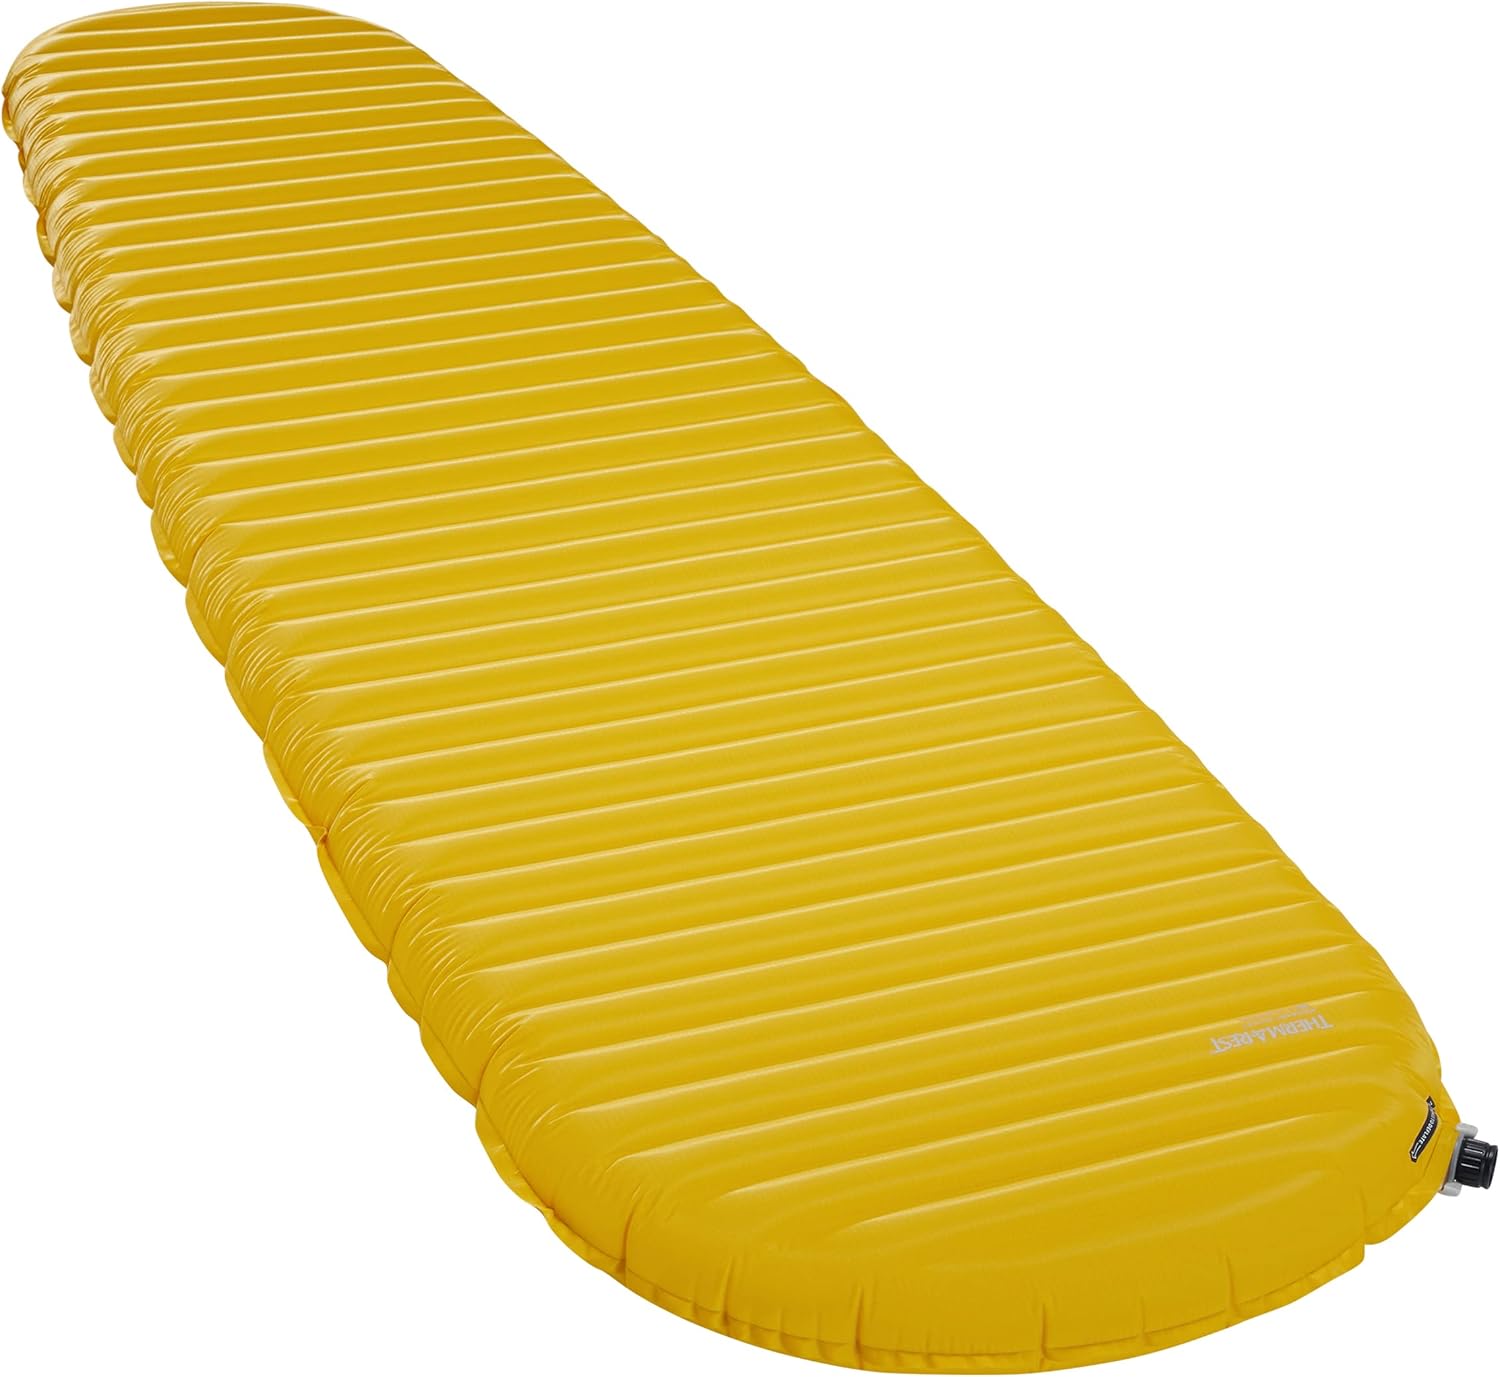
The insulation is only half the battle; you must also consider the ground. Conduction—the transfer of heat from your body to the frozen earth—will drain your warmth faster than the air will. This is why the R-value of your sleeping pad is non-negotiable. For winter, aim for a combined R-value of at least 5.0, often achieved by stacking a closed-cell foam pad under an insulated inflatable pad.
Vapor Barrier Liners and Condensation
In sustained sub-freezing temperatures, the moisture from your body can condense inside your sleeping bag’s insulation and freeze, gradually reducing its loft over several days. To combat this, some ultralight experts use a Vapor Barrier Liner (VBL). This is a non-breathable layer worn close to the skin that traps moisture, keeping your expensive down dry and functional.
While VBLs can feel slightly clammy, they are a game-changer for long-distance winter expeditions. Additionally, always carry a dedicated pair of “sleep socks” that never get wet. Putting on dry, warm wool socks at the end of a long day is not just a luxury; it is a vital step in rewarming your extremities and ensuring a restful, safe night.
Selecting and Setting Up the Perfect Winter Campsite
Setting up camp in the cold is an art form that requires speed, precision, and a deep understanding of the environment. As soon as you stop moving, your body temperature will begin to drop. The key is to have your shelter up and your insulation on within minutes of arriving at your destination.
When selecting a site, look for natural windbreaks like dense groves of trees or large rock formations. Avoid camping in the very bottom of valleys or “cold sinks” where heavy, frigid air settles during the night. A few hundred feet of elevation can sometimes mean a difference of ten degrees in temperature.
In snow-covered terrain, you must prepare the “platform” for your shelter. Use your snowshoes or skis to pack down the snow where your tent will sit. If the snow is soft, your body heat will melt it, creating uncomfortable dips and bumps during the night. Let the packed snow “sinter” or harden for about 20 minutes before pitching your tent for maximum stability.
Shelter Considerations and Anchoring
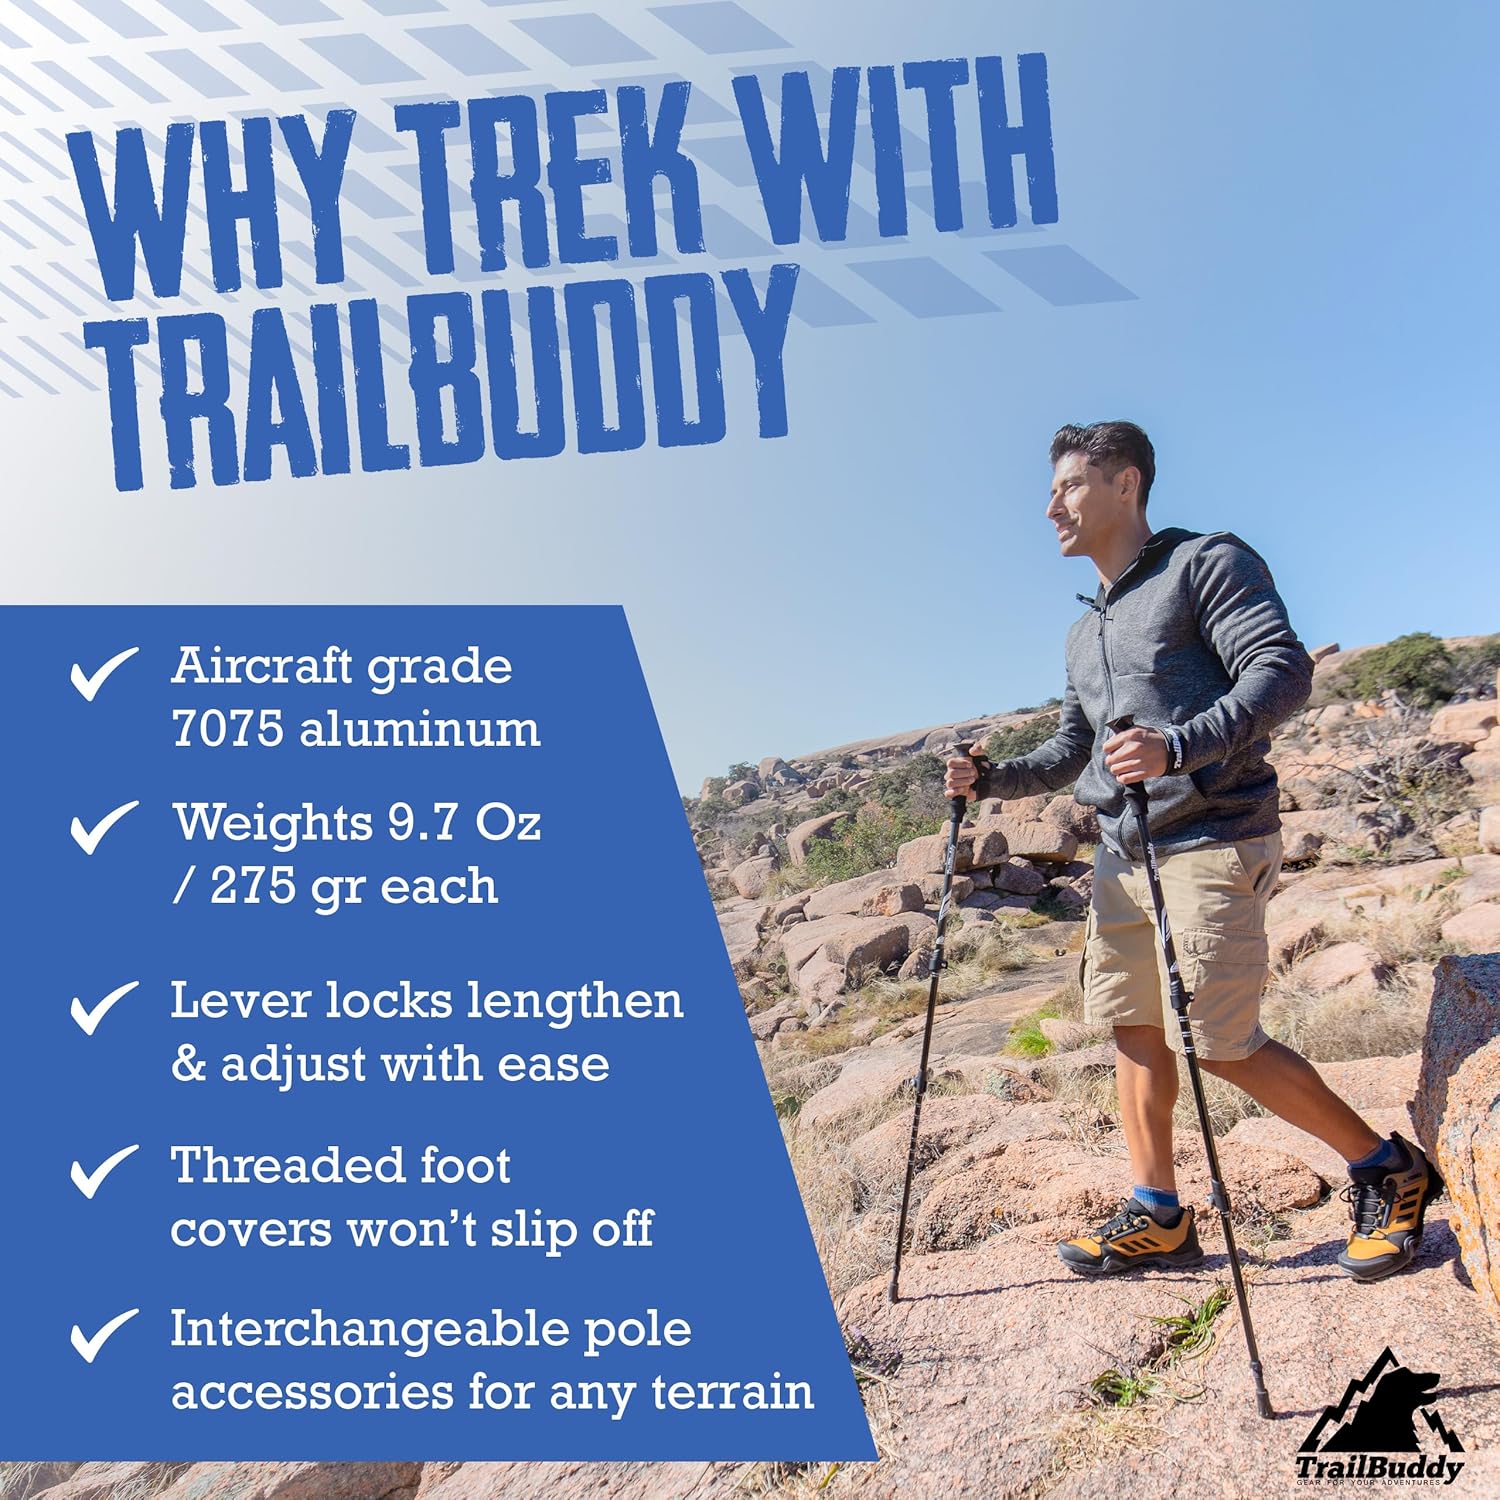
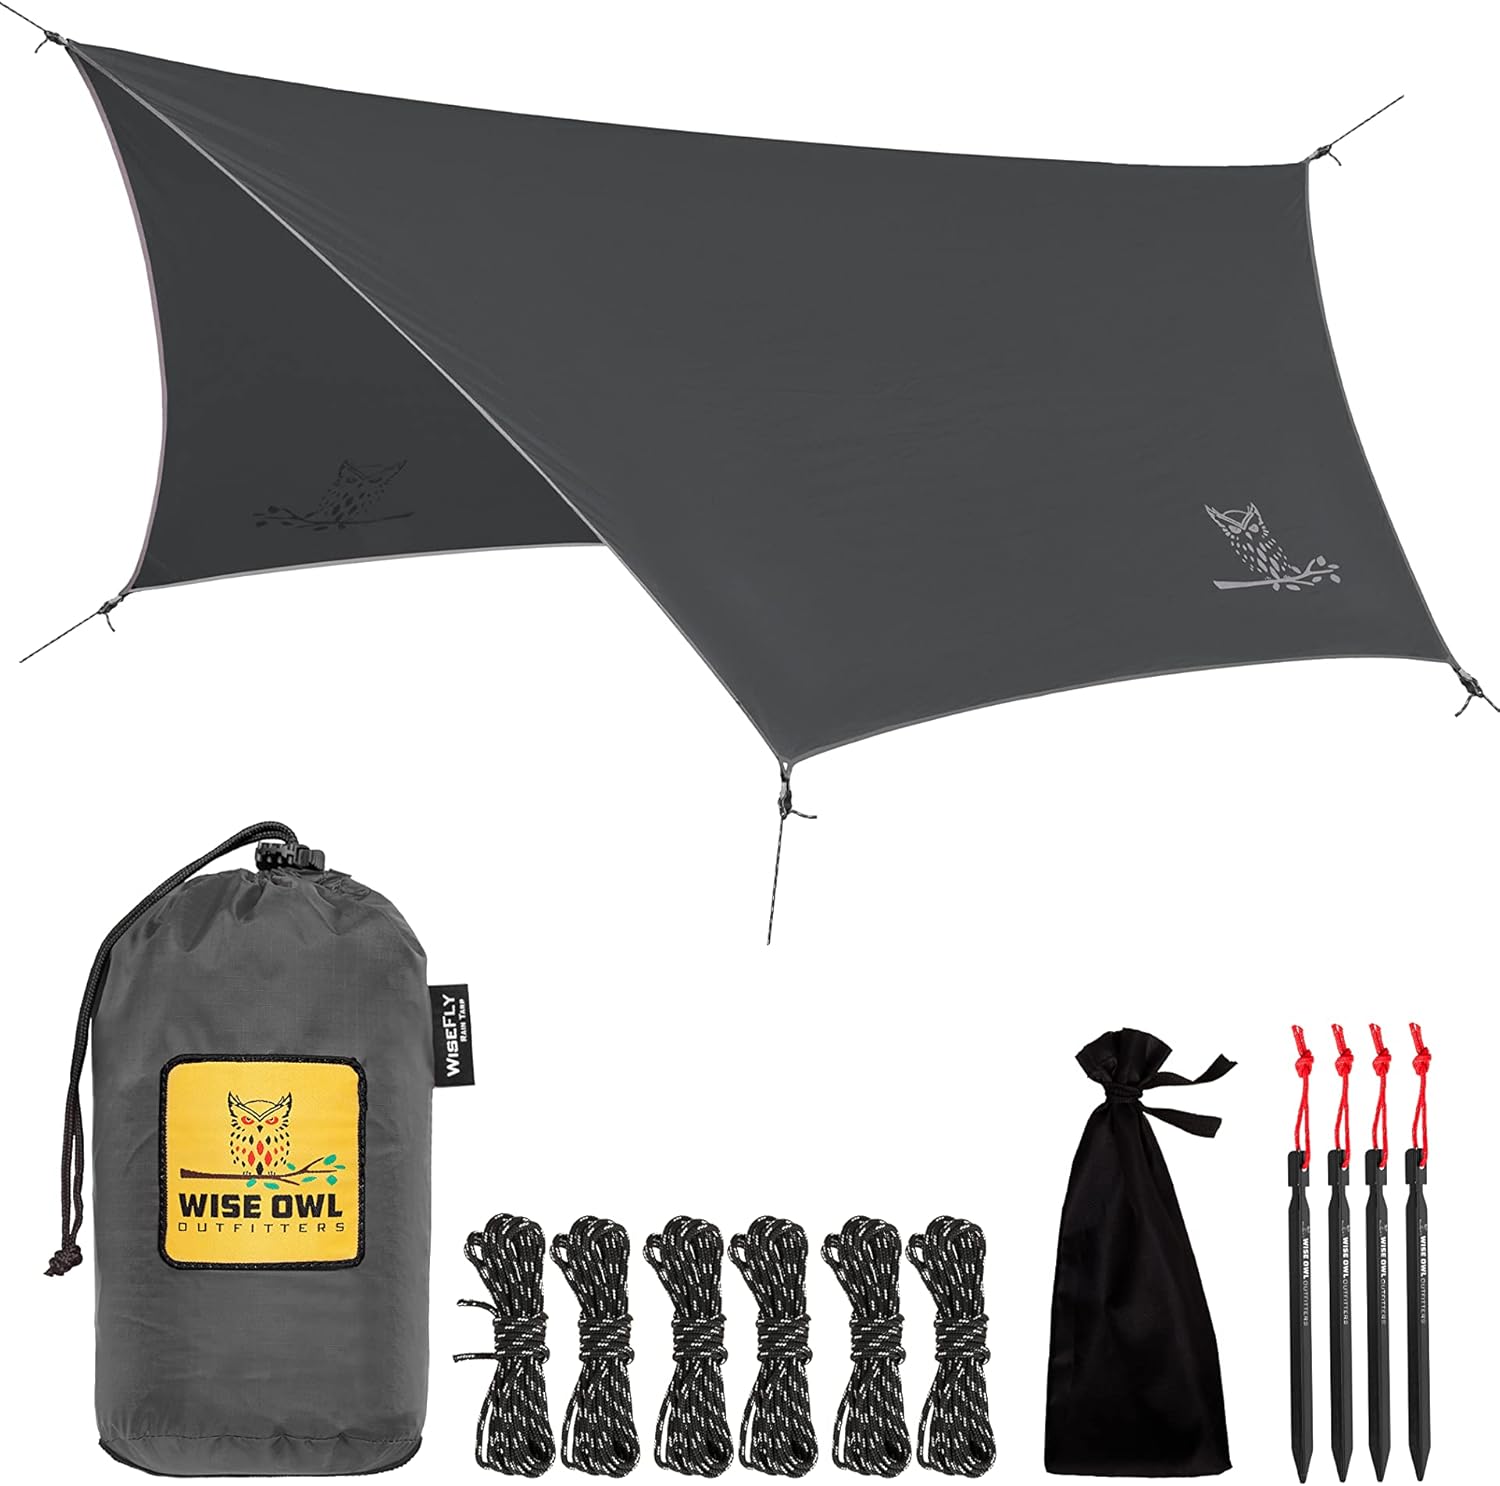
For ultralight winter use, a pyramid-style tarp (mid) is often the gold standard. These shelters shed snow exceptionally well and can be pitched with trekking poles, saving the weight of dedicated tent poles. They offer a massive amount of internal space for the weight, which is essential when you are spending 12+ hours inside during long winter nights.
Anchoring your shelter in the snow requires specialized techniques. Standard tent stakes will rarely hold in soft powder. Instead, use “deadman” anchors—burying sticks, rocks, or specialized snow stakes horizontally in the snow and packing it down firmly. This creates a bomb-proof pitch that can withstand the howling winds of a winter storm.
Nutrition and Hydration Strategies for Freezing Conditions
Your body is a furnace, and in the cold, it needs constant fuel to keep the fire burning. Forget the standard three-meals-a-day approach; winter hiking requires constant grazing. You should be consuming high-calorie, high-fat snacks every hour to provide the steady energy needed for thermogenesis.
Fat contains nine calories per gram, making it the most weight-efficient fuel source for ultralight hikers. Nuts, seeds, chocolate, and even adding olive oil or butter to your evening meals can provide the caloric density needed to stay warm. A hot meal before bed is also crucial, as the process of digestion generates internal heat that will help you fall asleep.
Hydration is equally important but often overlooked because we don’t feel as thirsty in the cold. However, the air is incredibly dry, and you lose significant moisture through respiration. Dehydration thickens the blood and reduces circulation, making you more susceptible to frostbite and hypothermia.
Managing Water in Liquid Form
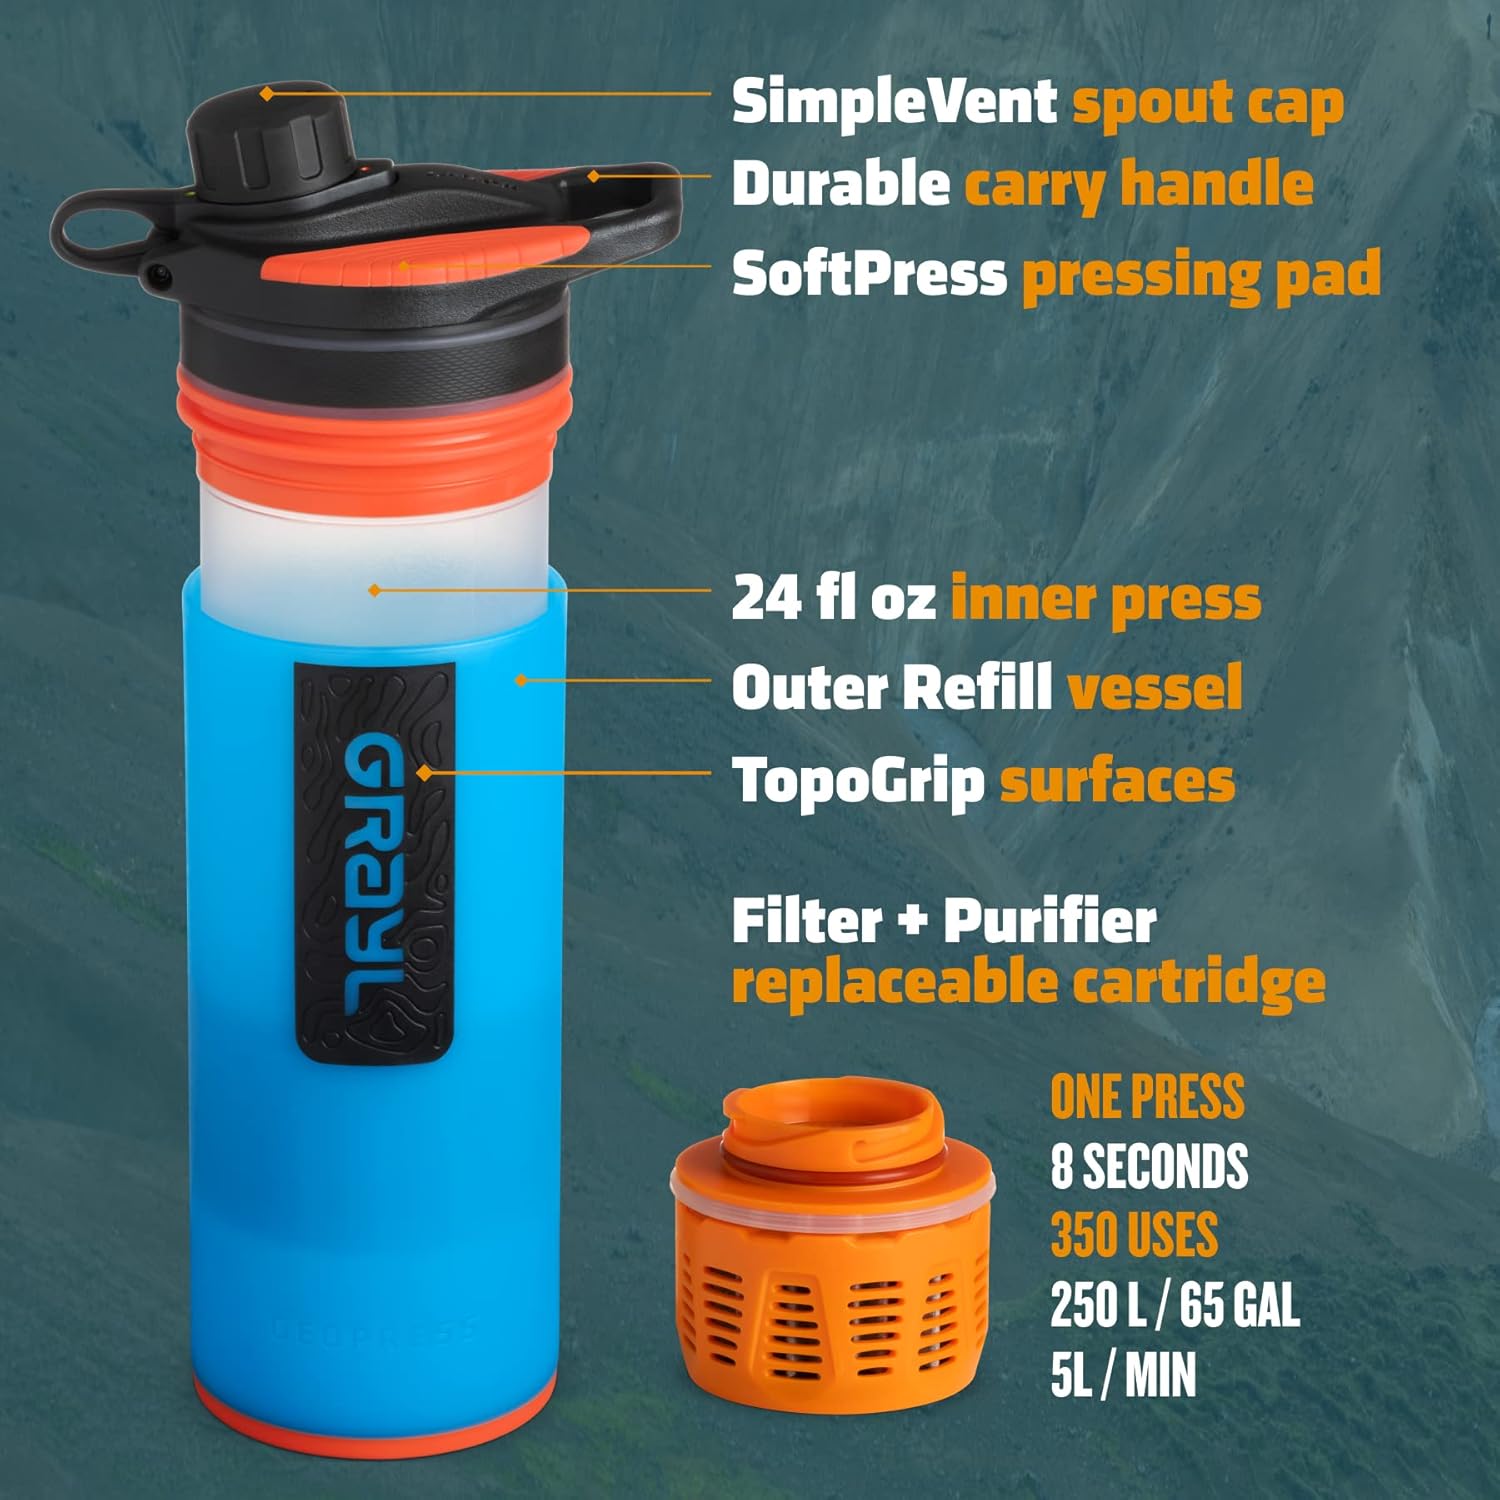
Keeping your water from freezing is a constant battle. Use insulated sleeves for your water bottles and store them upside down; water freezes from the top down, so this keeps the ice away from the cap. On particularly cold nights, sleep with your water filter and your water bottles inside your sleeping bag to ensure they are ready for use in the morning.
If you are relying on melting snow for water, remember that it requires a significant amount of fuel. Always keep a small amount of liquid water to start the melting process, as putting dry snow in a hot pot can actually scorch the metal and give the water a burnt taste. Carry a high-output stove that performs well in the cold, such as a remote-canister stove or a liquid fuel stove.
Essential Safety Equipment for Icy Terrain
While we strive for a light pack, there are certain items where we cannot compromise on safety. Traction is the most obvious. Depending on the terrain, lightweight microspikes or even aluminum crampons are essential for navigating icy slopes and frozen trails. Slipping on an icy ledge is a risk that no amount of weight saving can justify.
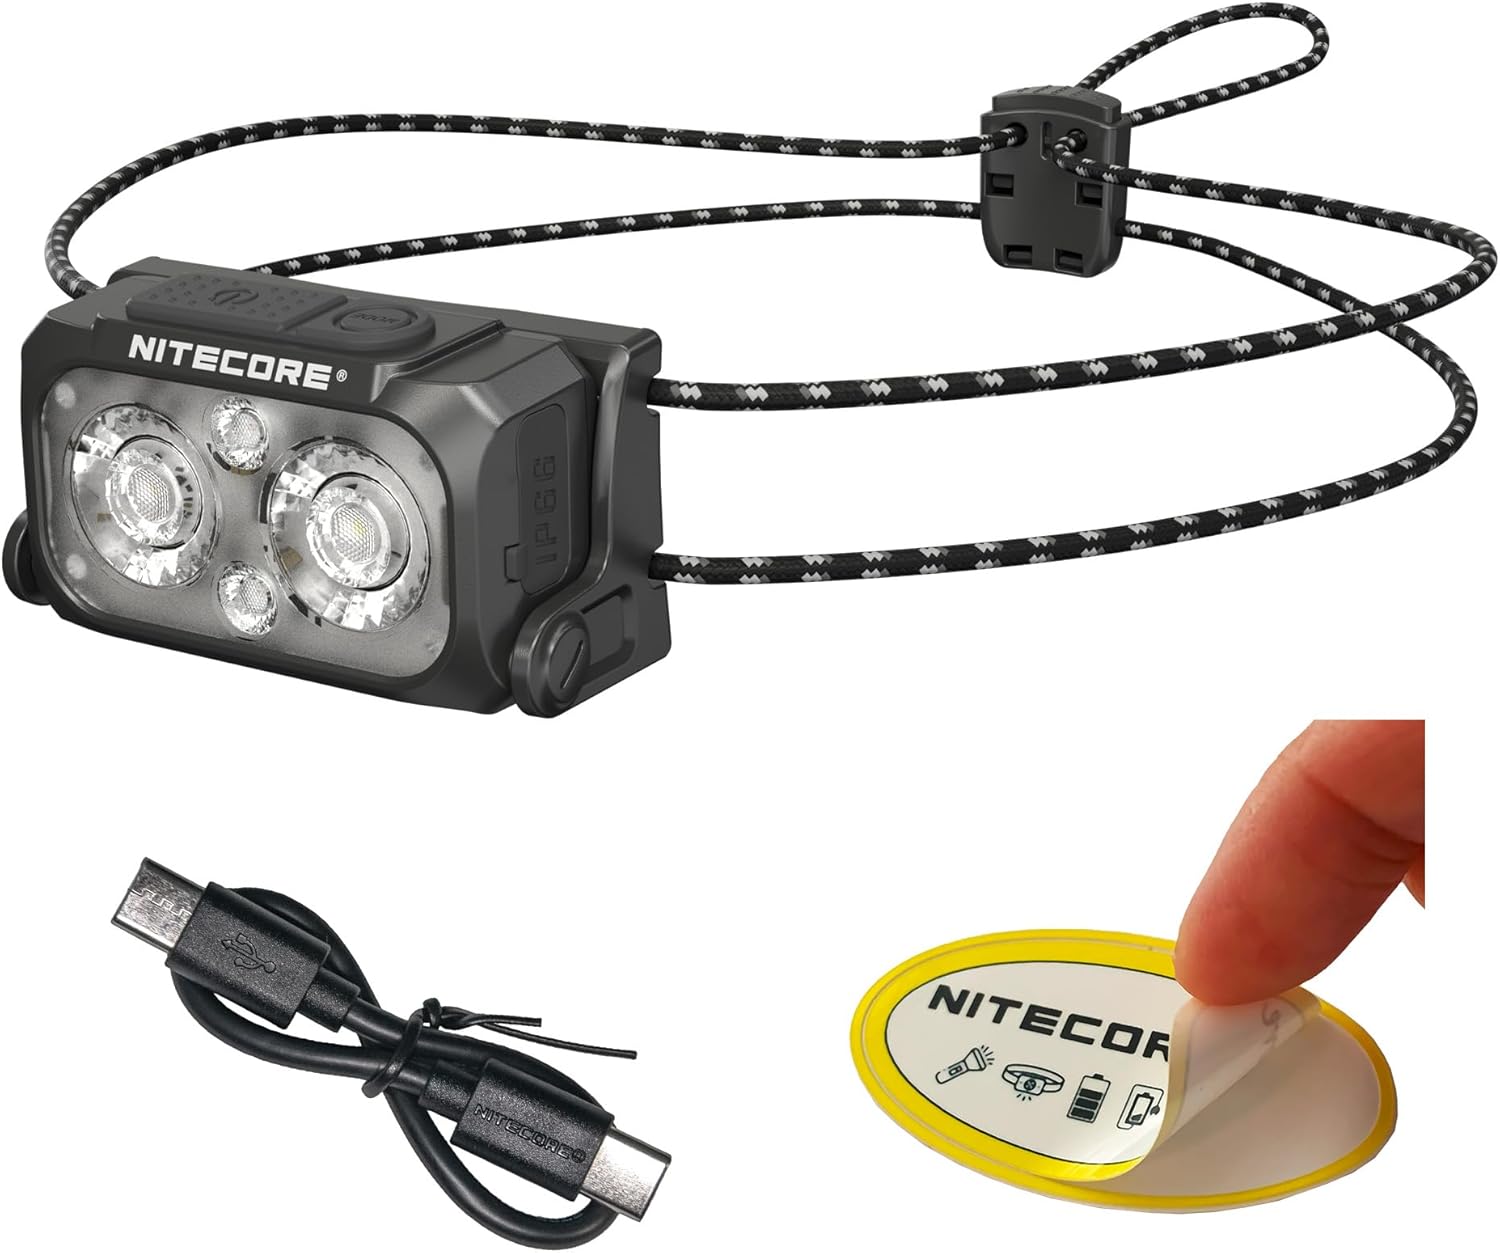
Navigation also becomes more difficult in winter. Trails are often buried under snow, and whiteout conditions can turn a familiar forest into a confusing maze. Always carry a physical map and compass in addition to your GPS or smartphone, and keep your electronics warm against your body to prevent battery drain.
Finally, always carry a small emergency kit that includes a way to start a fire in a blizzard, a whistle, and a basic first-aid kit. A lightweight emergency bivy can also be a lifesaver if your primary shelter fails or if you are forced to stop unexpectedly. In the winter, these items aren’t just “just in case”—they are your insurance policy against the unpredictable nature of the mountains.
Embracing the challenge of the cold requires more than just gear; it requires a deep connection to the rhythms of the season. By refining your kit and honing your skills, you transform the winter wilderness from a hostile environment into a sanctuary of peace and breathtaking beauty. The rewards of a successful ultralight winter trek—the pristine views, the absolute solitude, and the internal warmth of a well-earned camp—are worth every ounce of preparation. Step into the frost with confidence, knowing that you have the knowledge and the equipment to not just survive the cold, but to thrive within it.