
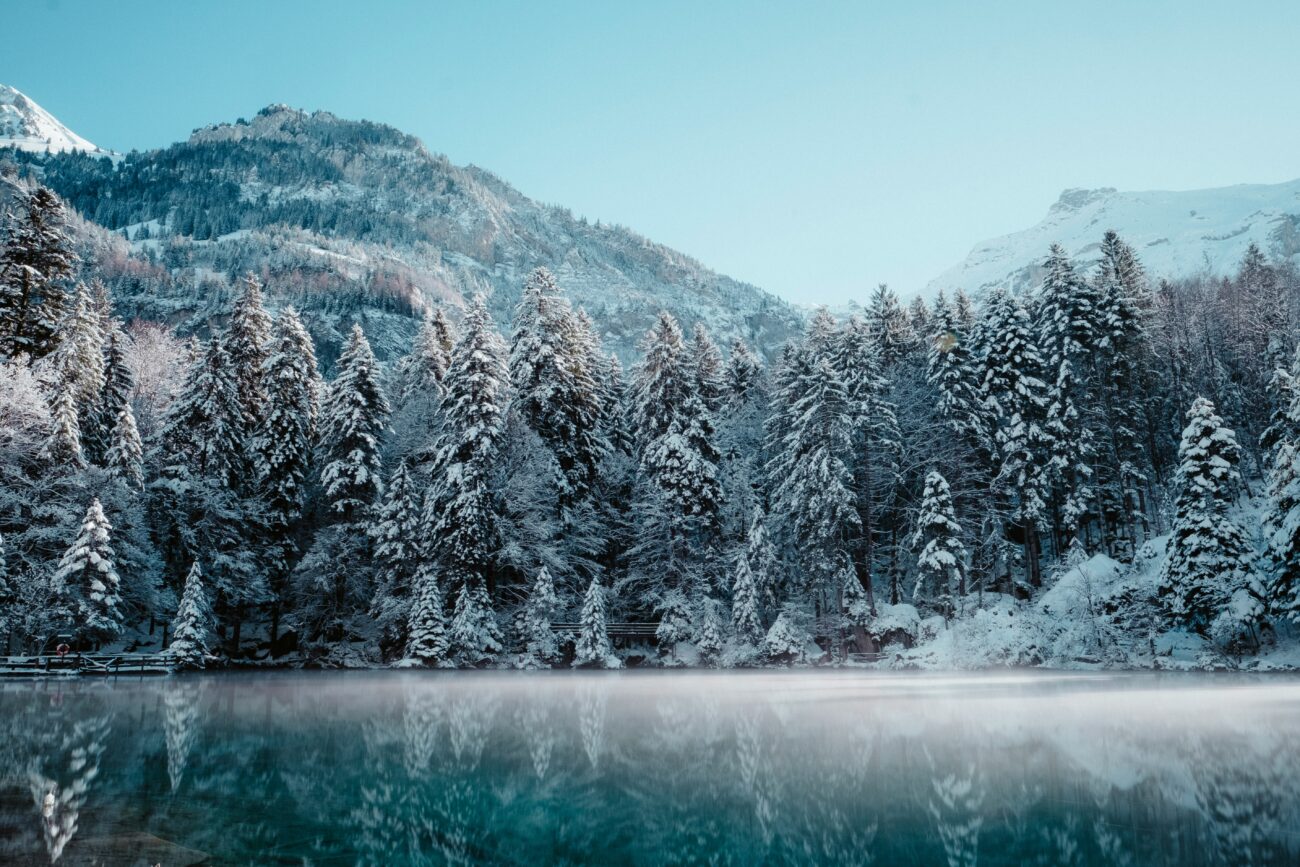
When the mercury drops and the trail turns icy, the ultralight backpacker faces a unique challenge: maintaining thermal efficiency without the burden of excessive weight. Mastering cold-weather hiking isn’t about carrying the heaviest parka you own; it’s about engineering a personal microclimate through a strategic layering system. By understanding the physics of heat loss and moisture management, you can stay comfortably warm while keeping your base weight impressively low.
The foundation of any cold-weather kit is the base layer. In the ultralight world, moisture is the enemy of warmth. Your base layer should be a next-to-skin garment made of merino wool or high-quality synthetic fibers. These materials excel at ‘wicking’—the process of pulling sweat away from your skin to the outer surface of the fabric where it can evaporate. Why? Because water conducts heat away from the body 25 times faster than air. If you get damp from exertion and then stop to rest, that moisture will rapidly sap your core temperature. Avoid cotton at all costs; it absorbs water and refuses to let go, becoming a heavy, cold liability.
Next comes the insulation layer, often referred to as the ‘mid-layer.’ For the ultralight enthusiast, this usually takes the form of a high-loft down jacket or a technical fleece. Down offers the best warmth-to-weight ratio available, trapping air in tiny pockets to create a barrier against the cold. However, down loses its loft when wet, which is why many hikers opt for synthetic insulation in humid or rainy environments. The goal here is to trap the heat your body naturally generates. On the move, a light breathable fleece might suffice, but once you hit the camp, a ‘puffy’ jacket becomes your best friend.
The final piece of the puzzle is the shell. This layer doesn’t provide much warmth on its own, but it protects your insulation from the ‘Big Two’ heat thieves: wind and precipitation. A lightweight, waterproof-breathable rain jacket or a dedicated wind shirt acts as a barrier, preventing the warm air trapped in your mid-layer from being blown away. In ultralight backpacking, versatility is key; your shell should be robust enough to block a gale but breathable enough to prevent the ‘trash bag effect’ where you soak yourself from the inside out with sweat.
Don’t forget the ‘extremity tax.’ Your head, hands, and feet are high-surface-area zones where heat escapes rapidly. A simple merino beanie, a pair of lightweight liner gloves paired with waterproof mitts, and wool socks are essential. A pro-tip for the ultralight hiker is the ‘be bold, start cold’ mantra. If you feel perfectly warm at the trailhead, you are likely over-dressed for the exertion ahead. Start slightly chilled, and let your metabolic engine do the work as you climb.
Cold weather is where ultralight backpacking truly separates skill from gear. When temperatures drop, success isn’t about packing heavier insulation—it’s about mastering your personal microclimate. With the right layering system, you can stay warm, dry, and efficient while keeping your base weight low.
This guide explains how cold weather layering works, how to choose ultralight clothing layers, and how to adapt your system to changing conditions on the trail.
What Is a Microclimate in Backpacking?
Your microclimate is the thin layer of air trapped between your skin and your clothing. Managing it effectively means balancing:
Heat production
Heat retention
Moisture control
Wind and precipitation protection
In cold weather, most discomfort—and danger—comes from moisture buildup, not lack of insulation. Sweat that freezes or chills can quickly lead to hypothermia, even with warm gear.
Ultralight layering focuses on active temperature regulation, not static warmth.
The Core Principles of Ultralight Cold Weather Layering
Before diving into specific layers, it’s important to understand the principles behind an effective ultralight system:
Layer for movement, not rest
Vent early and often
Avoid sweat at all costs
Use multiple light layers instead of one heavy layer
Adjust continuously
A good layering system is dynamic. If you’re wearing the same setup all day, something is wrong.
The Base Layer: Moisture Management First
Purpose
The base layer sits directly against your skin. Its job is moisture transport, not warmth.
Best Materials
Merino wool (120–150 g/m²)
Synthetic blends (polyester or polypropylene)
Avoid cotton at all costs—it traps moisture and kills insulation value.
Ultralight Tips
Choose lighter base layers than you think you need
A slightly cold start is ideal
Long sleeves offer better temperature regulation than short sleeves
SEO keywords naturally included: ultralight base layer, cold weather base layer, moisture-wicking hiking clothes
The Mid Layer: Active Insulation
Purpose
The mid layer provides warmth while moving and helps regulate heat output.
Best Options
Lightweight fleece (grid fleece is ideal)
Thin synthetic active insulation
Lightweight merino blend sweaters
Fleece remains the gold standard for active cold-weather hiking because it:
Breathes extremely well
Retains warmth when damp
Dries quickly
Weight Range
150–250 g (5–9 oz)
Avoid heavy insulated jackets while hiking—they trap sweat and reduce efficiency.
The Wind Layer: The Most Underrated Piece
Purpose
A wind layer traps warm air and dramatically boosts insulation with minimal weight.
Why It Matters
A 40 g wind jacket can feel like adding an entire insulation layer when conditions are cold and breezy.
Key Features
High breathability
Minimal features
Durable enough for bushwhacking
Many ultralight hikers rely on a wind layer more than a fleece in dry cold conditions.
SEO keywords: ultralight wind jacket, cold weather hiking layers
The Insulation Layer: Static Warmth
Purpose
This layer is for stops, camp, and emergencies, not active hiking.
Down vs Synthetic
Down
Best warmth-to-weight ratio
Packs smaller
Loses loft when wet
Synthetic
Better in damp conditions
Slightly heavier
More forgiving for beginners
How Much Insulation Do You Need?
For three-season cold weather:
800–1000 fill power down jacket
200–300 g total weight
For winter conditions:
Heavier insulation or layered insulation systems
Always size insulation to fit over all other layers.
The Shell Layer: Weather Protection
Purpose
The shell blocks wind, rain, and snow while preserving your internal microclimate.
Ultralight Shell Options
Lightweight rain jackets (2.5-layer or 3-layer)
Softshells for dry, cold environments
Key Features
Mechanical ventilation (pit zips if possible)
Adjustable hood
Good DWR treatment
A shell should be worn only when needed—overuse leads to moisture buildup.
Lower Body Layering: Often Neglected, Always Important
Many hikers overdress their upper body while ignoring their legs.
Active Layers
Lightweight hiking pants
Thin thermal leggings in cold conditions
Wind Protection
Ultralight wind pants can add massive warmth for under 100 g
Camp Layers
Insulated pants or thicker base layers for static warmth
Legs generate a lot of heat—keep them protected, not overheated.
Extremities: Hands, Head, and Feet
Hands
Thin liner gloves for hiking
Insulated gloves or mittens for stops
Waterproof shell gloves in wet cold
Head and Neck
Lightweight beanie
Buff or neck gaiter
Hooded layers reduce the need for extra headwear
Feet
Wool or synthetic socks
Vapor barrier socks in extreme cold
Dry sleep socks reserved for camp
Heat loss through extremities can make the entire system fail.
Managing Sweat: The Real Skill
Cold weather layering fails when hikers:
Start too warm
Ignore ventilation
Wait too long to adjust layers
Practical Rules
Remove layers before you sweat
Use zippers aggressively
Take short, frequent adjustments
If your back is damp, your system is already behind.
Layering Systems by Temperature Range
Cool Conditions (0 to 5°C / 32–41°F)
Base layer
Lightweight fleece or wind jacket
Shell only if needed
Cold Conditions (-5 to 0°C / 23–32°F)
Base layer
Fleece
Wind jacket
Insulation for stops
Very Cold Conditions (-10°C / 14°F and below)
Full layering system
Strict moisture management
Redundant insulation for safety
Always adjust based on wind, humidity, and activity level.
Common Cold Weather Layering Mistakes
Carrying one heavy jacket instead of multiple light layers
Hiking in insulation
Ignoring wind protection
Not protecting hands and head
Packing “just in case” clothing without a system
Ultralight success comes from intentional choices, not minimalism for its own sake.
Building Your Own Ultralight Layering System
Ask yourself:
What temperatures will I face?
How wet will conditions be?
How hard will I be moving?
Where do I lose heat fastest?
Then build a system where each layer has a specific job.
Final Thoughts: Control the Climate, Not the Weight
Mastering cold weather layering is about control, not comfort. When you understand how to manage your microclimate, you can hike lighter, safer, and more confidently in cold conditions.
Ultralight backpacking in the cold rewards skill, awareness, and adaptability. Your gear is just the tool—your decisions create the warmth.