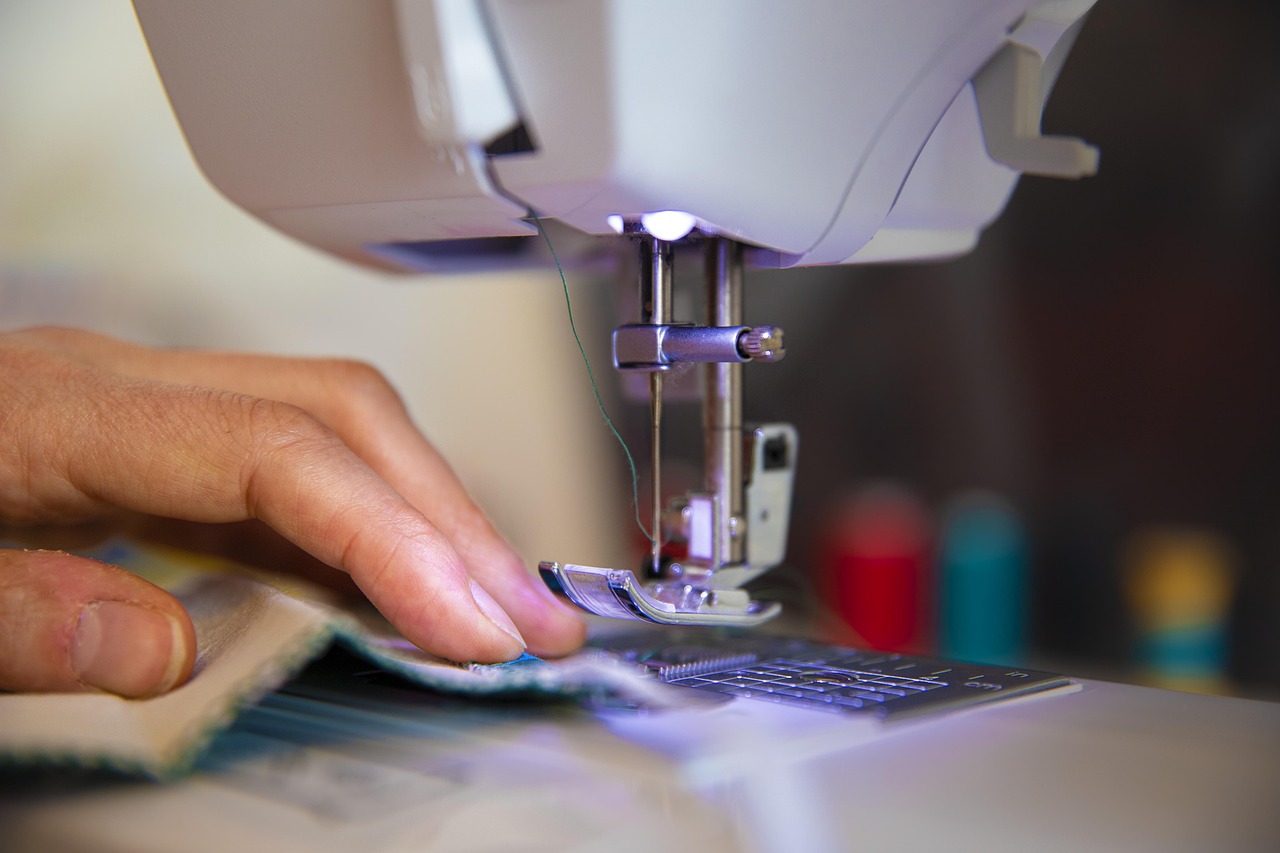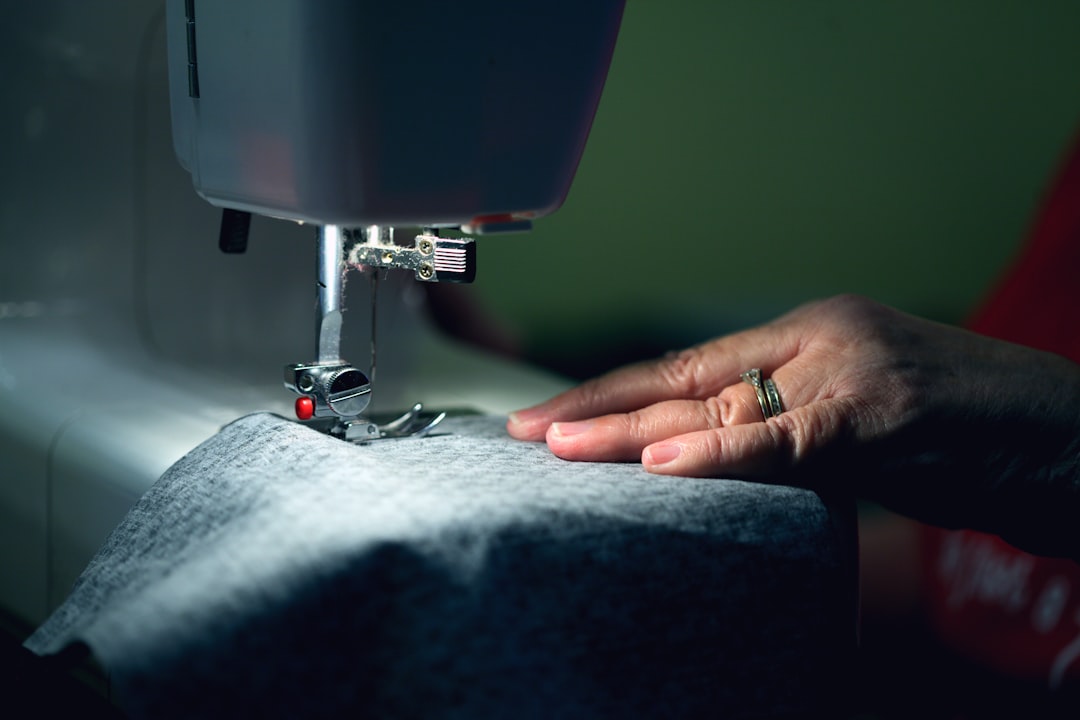
When you transition into the world of ultralight backpacking, you eventually hit a wall where commercial gear no longer satisfies your specific needs or your budget. This is the birthplace of the MYOG (Make Your Own Gear) movement. There is a profound sense of agency that comes from standing on a windswept ridge, protected from a torrential downpour by a shelter you stitched together yourself on a kitchen table. A tarp is the perfect gateway project for aspiring gear makers. It is essentially a geometric exercise in precision, requiring minimal complex 3D shaping compared to a backpack or a tent, yet it offers the highest weight-to-protection ratio of any shelter system.
1. Introduction: Why a DIY Tarp is the Ultimate UL Upgrade
Why should you spend your weekend hunched over a sewing machine instead of just buying a pre-made tarp from a reputable cottage vendor? First, there is the matter of customization. Most commercial tarps come in standard sizes like 8×10 or 9×7. When you build your own, you can tailor the dimensions to your exact height and preferred pitching style. If you are a tall hiker who consistently gets wet feet in a standard A-frame, a custom 10.5-foot ridgeline is a game-changer.
Second, the cost savings are significant, especially when working with high-end materials like Silnylon. While Dyneema Composite Fabric (DCF) is expensive regardless of whether you sew it or buy it, the labor markup on DCF shelters is astronomical. By providing the labor yourself, you can own a sub-10-ounce shelter for the price of the raw materials. Finally, knowing exactly how your gear is constructed allows you to perform field repairs with total confidence. You won’t just see a tear; you’ll see a structural challenge you already know how to solve.
2. Materials Needed: Dyneema vs. Silnylon
Choosing your fabric is the most critical decision in the DIY process. Your choice will dictate your sewing technique, your budget, and the ultimate longevity of the tarp. Here is how the two heavyweights of the ultralight world compare:
- Silnylon (Silicone Impregnated Nylon): This is the traditional choice for MYOG enthusiasts. It is typically a 15D or 20D ripstop nylon coated with silicone. It is highly durable, relatively inexpensive ($10-$15 per yard), and packs down incredibly small. The downside? It stretches when wet, meaning you’ll likely need to tighten your guylines in the middle of a rainy night.
- Dyneema Composite Fabric (DCF): Formerly known as Cuben Fiber, this is the holy grail of ultralight materials. It consists of Dyneema threads laminated between polyester films. It is waterproof, has zero stretch, and is incredibly light (0.51 oz/sq yd is the standard for tarps). However, it is expensive ($35-$50 per yard), bulky to pack, and requires specific bonding tapes rather than traditional sewing for maximum waterproofness.
- Silpoly (Silicone Impregnated Polyester): A rising favorite. It offers the low cost of silnylon but without the annoying “mist effect” or stretch when wet. It is slightly less tear-resistant than nylon but stays taut all night.
For your first project, I highly recommend 1.1 oz Silnylon or 1.1 oz Silpoly. They are more forgiving to sew than the paper-like DCF and much kinder to your wallet if you make a cutting error.
3. Tools and Sewing Tips for Technical Fabrics
Sewing ultralight fabrics is not like sewing denim or cotton. These materials are slippery, thin, and prone to “puckering.” To succeed, you will need the following kit:
- A Sewing Machine: Any home machine with a straight stitch and zigzag capability will work. You do not need an industrial machine for these thin fabrics.
- Needles: Use Microtex (sharp) needles in size 70/10 or 80/12. A dull needle will snag the fine fibers of technical fabrics.
- Thread: Use 100% polyester thread, such as Gutermann Mara 70 or Tera 80. Never use cotton thread, as it will rot when exposed to moisture on the trail.
- Cutting Tools: A rotary cutter and a large self-healing mat are far superior to scissors for getting straight, crisp edges on slippery nylon.
- Pins or Clips: Avoid pins if possible, as they leave permanent holes. Use clover clips or even small binder clips to hold your seams together.
Technical Tip: Set your stitch length to 2.5mm to 3.0mm. If your stitches are too close together, they can act like a perforated line on a notebook, making it easy for the fabric to tear along the seam under high tension.
4. Step-by-Step Construction Guide
Before you cut, decide on your layout. Most technical fabric comes in widths of 58 to 62 inches. To make a standard tarp, you will usually need two long panels joined by a central ridgeline seam.
The Solo Tarp (approx. 6′ x 9′)
- Cut two panels of fabric, each 9.5 feet long.
- Join them along the long edge using a Flat Felled Seam. This is the strongest seam for a ridgeline. Sew a straight stitch, trim one seam allowance by half, fold the longer allowance over the shorter one, and top-stitch it down.
- Hem the perimeter with a double-fold hem (roll the edge twice and sew).
The Duo Tarp (approx. 9′ x 10′)
Follow the same steps as the solo tarp, but use the full width of the fabric for both panels. This will result in a massive shelter that can easily cover two hikers and their gear. Ensure you add extra reinforcement to the ridgeline, as the increased surface area will catch more wind.
The Poncho Tarp (approx. 5′ x 8′)
This is a single-panel project. You do not need a ridgeline seam. The complexity here lies in the hood. You must cut a hole in the center, sew a simple hood with a drawstring, and ensure the “neck” of the hood can be cinched tight or covered with a flap when the tarp is pitched as a shelter.
5. Seam Sealing, Reinforcements, and Tie-Outs
A tarp is only as strong as its tie-out points. If you simply sew a piece of webbing to the edge of the fabric, it will rip out in the first gust of wind. You must add reinforcement patches—circles or triangles of a heavier fabric like 210D Robic or even scraps of the tarp fabric—to every corner and every point where a guyline will attach.
Reinforcements: Use a 3-step zigzag stitch to attach your reinforcement patches. This distributes the load more evenly than a straight stitch.
Tie-outs: Sew 1/2-inch or 3/4-inch polyester webbing loops to the reinforced areas. For added convenience, you can thread Lineloc 3 tensioners onto the webbing before sewing them down.
Seam Sealing: If you used Silnylon, you must seal the ridgeline. Mix a 1:1 ratio of 100% silicone caulk and odorless mineral spirits until it reaches the consistency of syrup. Pitch the tarp tightly in your yard and paint this mixture over the ridgeline stitches. For DCF, you can skip the liquid and use 1-inch DCF repair tape over the seam.
6. Cost Breakdown and Weight Estimates
Let’s look at the numbers for a standard 8×10 Silnylon tarp:
- Fabric: 7 yards of 20D Silnylon @ $12/yd = $84
- Thread/Webbing/Sealant: ~$25
- Total Cost: ~$109
- Total Weight: ~13-15 ounces (depending on reinforcements).
A comparable DCF tarp would cost approximately $280 in materials but would weigh a mere 7 to 8 ounces. Compare this to buying a high-end DCF tarp retail, which can easily exceed $450-$550.
7. Pros, Cons, and Real-World Testing
The biggest pro of a DIY tarp is the Weight-to-Value ratio. You are getting world-class gear for entry-level prices. The biggest con is the Learning Curve. Your first ridgeline might be a bit wiggly, and your seam sealing might look messy. Don’t worry—the rain doesn’t care if your stitches are straight.
Testing Tips: Never take a brand-new DIY tarp on a week-long thru-hike without testing it first. Pitch it in your backyard and blast it with a garden hose. Leave it up overnight during a windy storm. Check for any “elongation” of the needle holes at the tie-outs. If you see the holes stretching, you need to add more reinforcement stitching.
8. Conclusion: From the Sewing Machine to the Summit
Building your own ultralight tarp is a rite of passage for the dedicated trekker. It bridges the gap between being a consumer of outdoor gear and being a craftsman of your own adventures. When you finally crawl under that thin sheet of nylon after a 25-mile day, you’ll feel a connection to your kit that no store-bought item can provide. Ready to start? Grab a few yards of silnylon, set your machine to a straight stitch, and start building your ultimate shelter today. Your back—and your wallet—will thank you.